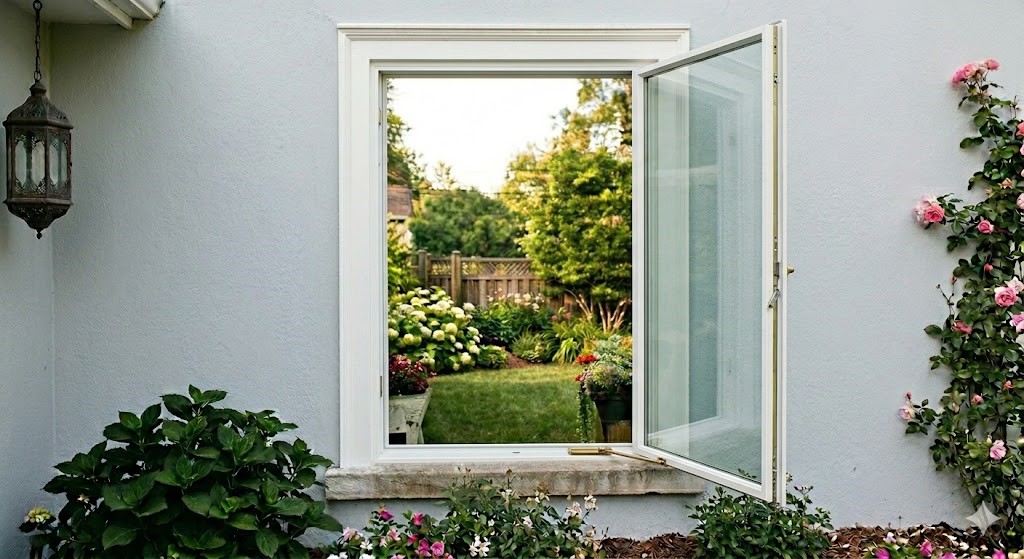
Every homeowner reaches a point when the exterior of their home needs a bit of an uplift; maybe it’s weathered too many storms, or time and trend are simply calling for a change. One highly effective solution is home siding installation - a remodel that not only transforms the curb appeal of your house but also offers practical benefits, like thermal insulation and increased property value. But what exactly can you expect from this process, and how should you prepare for it? Imagine setting off on a family road trip without packing luggage or planning the route; similarly, diving into home siding installation without the right preparation might leave you feeling lost. Equip yourself with knowledge as we guide you through this transformative journey for your lovely abode in our latest blog post, 'Home Siding Installation: What to Expect and How to Prepare'.
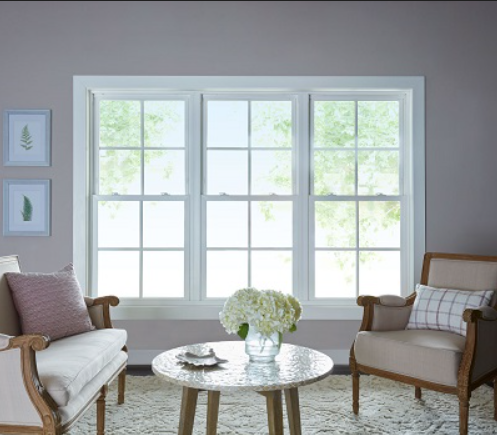
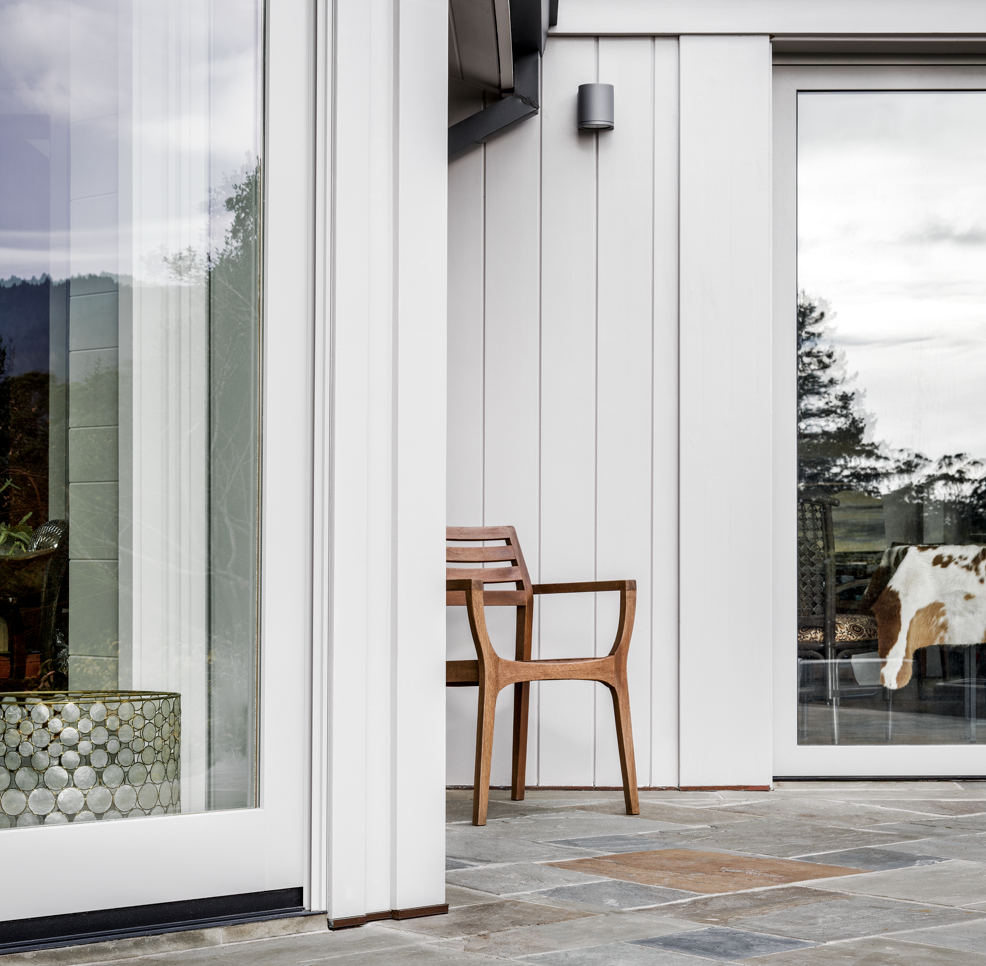
Choosing the Right Siding for Your Home
Choosing the right siding for your home is an essential step that can significantly impact your house's appearance, energy efficiency, and resale value. With so many siding options available in the market, it's crucial to consider various factors to determine which one suits your needs and budget.
One factor to consider when choosing siding installation is your home's architectural style. Certain siding materials, such as stucco, stone veneer, or cedar shake, are more suited to traditional homes, while others like fiber cement or vinyl work better with modern design aesthetics. It's also important to consider the color and texture of siding material and ensure they complement your home's overall look.
Another factor to consider is durability. Some siding materials require minimal maintenance and can withstand harsh weather conditions, while others may need more upkeep. For example, vinyl and fiber cement sidings are low-maintenance and durable options that can last for decades without fading or warping.
Finally, it's crucial to consider insulation properties when choosing a siding material. High-quality siding not only improves your home's curb appeal but also enhances its energy efficiency, reducing heating and cooling costs over time. Insulated vinyl or fiber cement sidings can provide superior protection against drafts and thermal transfer compared to wood or aluminum sidings.
For example, let's say you live in an area with extreme temperature fluctuations. In this case, insulated vinyl sidings may be the best option as they provide superior heat resistance while still maintaining an attractive appearance. On the other hand, if you're looking for a classic look for your colonial-style house, cedar shake siding may be a better choice; however, it will require more maintenance than other materials.
Regardless of which type of siding you choose, make sure it's installed correctly by qualified professionals like JP Exteriors' experienced team. Improper siding installation can damage your home, reduce energy efficiency, and even void warranties.
Some people may argue that the cost is the most important factor. While it's important to work within your budget, choosing inferior quality or improperly installed siding can end up costing more in the long run through increased maintenance, repairs, or replacement.
To illustrate, consider purchasing a cheaper car with poor fuel efficiency to save money upfront but end up paying more in gas costs over time. In contrast, investing in a high-quality car with better gas mileage will likely lead to lower long-term expenses and savings.
Now that you've considered which siding type fits your home's style, durability needs, and insulation properties let's take a deeper look at the costs and maintenance of different siding types.
- Choosing the right siding for your home is a crucial decision that affects your house's appearance, energy efficiency, and resale value. Factors such as architectural style, color, texture, durability, and insulation properties should be considered before making a choice. Although cost is essential, it should not be the only deciding factor since choosing inferior quality can end up costing more in the long run. Proper installation by qualified professionals is also vital to ensure maximum benefits from your chosen siding material.
Costs and Maintenance of Different Siding Types
The costs of siding installation vary depending on material quality, size of the area being covered and labor costs. For example, wood or stone veneer sidings are generally more expensive but may last longer than other materials if well-maintained. Meanwhile, vinyl siding is inexpensive and requires little upkeep but may fade over time.
It's also important to consider the maintenance requirements for different siding types when planning your budget. Wood sidings require regular upkeep such as painting or staining to maintain their appearance and protect them from termites or rot. Similarly, stucco sidings may need periodic repair due to cracking or water infiltration.
On the other hand, fiber cement or vinyl sidings require less maintenance but may still need occasional cleaning with a mild detergent solution to remove dirt and grime buildup. Regular inspections by professionals like JP Exteriors can help catch any potential issues before they become bigger problems that require costly repairs.
For example, if you live in an area prone to storms, installing fiber cement sidings may be a wise investment as they provide superior protection against hail and high winds. It also has a low-maintenance requirement that is vital for busy homeowners who want an attractive but hassle-free home exterior.
While maintenance considerations and costs are essential factors to consider when choosing your siding type, it's crucial to focus on long-term value. High-quality siding installation installed professionally by JP Exteriors can last for decades with minimal maintenance, providing excellent return on investment over time.
Some may argue that cheaper options such as vinyl siding may be more economical upfront, so they're the best option. However, if you plan to stay in your home for many years, investing in higher-quality sidings like fiber cement or stucco may provide better long-term value due to their durability and energy efficiency properties.
To illustrate, consider purchasing inexpensive appliances that break down frequently versus investing in high-end brands known for reliability. While it may seem like a cost-saving measure at first, constantly repairing or replacing cheaper items can add up quickly and ultimately result in a loss of value.
Planning and Budgeting for Your Siding Installation
Installing new siding on your home is a significant investment that requires careful planning and budgeting. Before making any decisions, it's important to consider several factors that can impact the cost of your project, including the type of siding you choose, the size of your home, and any additional services you may need.
For example, choosing vinyl siding over more expensive options like fiber cement or natural wood can significantly lower your material costs. However, keep in mind that certain types of siding are more durable and require less maintenance, which could save you money in the long run.
Additionally, when planning for your siding installation, don't forget to factor in any additional services you may need. For instance, if your current siding is damaged or needs to be removed before installation can begin, this will add time and labor costs to your project. Likewise, if you want to add new insulation or upgrade other exterior features during the installation process, these services will also increase your overall cost.
While some homeowners may be tempted to cut corners and skimp on certain services to save money upfront, this approach can ultimately end up costing you more in the long run. Not properly removing old siding or neglecting necessary repairs can lead to future problems like water damage or pest infestations. It's important to work with a reputable contractor who can guide you through the planning process and help you make informed decisions based on your specific needs and budget.
Estimating Material and Installation Costs
Estimating material and installation costs for a siding installation project involves several steps, including assessing the size of your home, determining the cost of materials based on square footage, and factoring in additional costs like labor, permits, and equipment.
To help you better understand the estimation process, think of it like planning a road trip. Just as you would calculate the distance between your starting point and destination, you'll need to measure the square footage of your home to determine the amount of material needed for your siding installation. Then, just like calculating fuel costs and lodging expenses for your trip, you'll need to factor in any additional costs beyond materials, such as labor fees and permit costs.
As an example, let's say you have a 1,500 square foot home that you want to re-side with vinyl siding at an average cost of $3 per square foot. Your estimated material cost would be $4,500. However, this does not include additional costs like labor fees or permit fees. Experienced contractors will typically provide an estimate that includes all necessary expenses so that there are no surprises down the road.
Keep in mind that while it may be tempting to choose the cheapest materials or DIY your siding installation entirely, doing so can lead to significant problems down the road. Poorly installed or low-quality siding can lead to issues like water damage and energy inefficiency. Working with a reputable contractor who uses high-quality materials and offers a warranty will give you peace of mind and ensure a long-lasting investment in your home.
While it's understandable that homeowners may be concerned about the cost of their siding installation project, it's important not to sacrifice quality for savings. It's often better to invest upfront in high-quality materials and experienced professionals who will get the job done right the first time rather than deal with costly issues later on.
Preparation Steps Before the Siding Installation
Before the installation of new siding, there are several important preparation steps that homeowners must take to ensure a smooth and successful installation process. These steps involve planning, organizing, and preparing the site for the new siding. Below are some preparation steps that you need to consider before installing new siding:
Think of your home as a blank canvas that needs priming before painting. Preparing your house for the new siding involves various tasks that should not be rushed. Careful planning and thorough preparation will help avoid complications during siding installation.
First, you should inspect your current siding and ascertain if it requires repairs or replacement. Addressing underlying issues such as cracks, leaks, or rot ensures these problems do not carry over into your new siding. If your siding is old, faded, or damaged beyond repair, then a complete replacement is necessary.
Next, choose the right type of siding suitable for your home's architecture and climate conditions. Evaluate factors such as durability, energy efficiency, maintenance requirements, style preference and budget constraints when making this decision.
Once you have decided on the type of siding to install, determine what other work needs to be done before siding installation can begin.
Imagine you're baking a cake; true success starts with proper measuring of ingredients that will lead to great results! Accurate material estimation is critical in ensuring that you purchase enough materials for the project without overspending or running out of material mid-way through installation.
Estimate how much material will be needed by calculating the square footage of your home exterior walls and windows by multiplying their height by width. Additionally, factor in costs for any added accessories required like trim pieces, caulking materials, and flashing, among others.
Finally, protect items located around your home's exterior from damage during siding installation. Relocate any valuable or delicate belongings, including outdoor furniture, grills, and decorations, away from the work area. While it is important to mildly prune trees where necessary, remember avoiding significant trees whilst setting up equipment or materials as to not cause damages.
Removing Old Siding and Preparing the Surface
Before your new siding can be installed, the old siding must be removed entirely. The success of your new siding installation will be dependent on how effectively old siding removal and surface preparation takes place. Below are some preparation steps that you need to consider before removing old siding:
First things first: safely remove your old siding from your home's exterior walls without causing harm to the house's structure. This means following standard deck-building procedures like using a pry bar instead of a hammer to avoid wall fractures. Siding technicians should wear safety gear such as eye protection mask, gloves and proper footwear when undertaking this process.
Once all old siding has been removed, inspect the existing wall substrates for potential issues that may affect vinyl siding installations such as rotting wood structures and termite activities. These concerns demand immediate attention before you can proceed with repartitioning.
Although many modern sidings can be attached to an existing layer of old siding-observing essential precautionary measures- it is recommended that homeowners remove the existing layers- especially if there is presence of mold or when it is agreed by installer that they are loose enough to be replaced.
After successfully removing all old sidings without causing any damage to the walls' structure followed by conducting relevant substrate inspections, de-nailing or replacing protruding nails left behind become the next job that needs addressing before beginning new siding installation.
The Siding Installation Process
The siding installation process is a critical step towards enhancing the curb appeal of your home and protecting it from external elements like harsh weather conditions. Whether you are installing new siding on a new build or replacing old, worn-out siding, the process typically follows the same basic steps.
Firstly, the siding installation expert will inspect your home's exterior to ensure it's ready for installation. They will assess whether any necessary repairs need to be done before starting the installation process. These could include water damage or rot that needs to be fixed before new siding can be installed.
Once all repairs have been completed, they will start by installing the flashing, which consists of thin strips of metal that goes around windows and doors to help prevent water from entering your home. Then they will install a moisture barrier over the bare walls and attach the wall studs with galvanized nails or screws depending on what kind of wall structure is used.
After this, they'll begin installing the starter strips at the building's base, then add furring strips above it. Once these strips are in place, they'll start mounting the siding panels onto them. Before fixing each panel in place, our team carefully examines every inch of ground; we prioritize ensuring there are no missing corners or wrong measurements.
Finally, once all panels have been installed and sealed against drafts using caulking sealant around doors and windows, they clean up any mess resulting from our work area.
As one of our valued customers found out during their recent project with us: "JP Exteriors did an amazing job with my home's siding installation! Their process was efficient yet carefully executed. From installing flashing to adding furring strips, every step of the way felt intentional and well thought out."
It's worth noting that there are several factors that can impact how long a siding installation project takes. For example, the size of your home, the type of siding being installed and any necessary repairs that need to be done to your house before installation.
However, thanks to our experienced team at JP Exteriors, we can guarantee a reasonably quick and efficient installation timeline. We've worked on countless projects over our 30 years in business, which has allowed us to hone our expertise to deliver an experience that prioritizes timely completion without compromising quality.
When it comes to choosing a material for your siding installation project, there's a lot of debate about whether it's better to go with vinyl or fiber-cement. Both materials have pros and cons. For instance:
Vinyl Siding:
- Pros: low cost, low maintenance, and energy-efficient.
- Cons: limited color selection and not as durable as fiber cement.
Fiber Cement Siding:
- Pros: long lasting, highly durable and impact-resistant, rot resistant, fire resistant
- Cons: higher cost than vinyl sidings
Ultimately the choice comes down to what factors are more important for you when investing in a new siding for your home. Our experts can give you some guidance and lay out the pros & cons of each based on their decades-long experience.
Key Steps and Essential Tools for Installation
Every exterior remodeling company follows specific procedures when installing siding panels on homes. Here are essential tools and key steps that JP Exteriors use during every siding installation process:
Key steps:
1. Evaluate the Home's Structure:
The first step involves assessing the state of your home’s foundation, studs, windows, sidewalks, and door sections. This check ensures we know what needs repair before proceeding with the siding installation process as this will help expose potential problems early.
2. Install House Wrap/Moisture Barrier:
This step protects your home from moisture that can disintegrate the underlying structure should water leak into its gaps or cracks. House wrap or moisture barriers are the materials used to prevent water issues that could lead to more serious problems.
3. Starter Strip Installation:
After the installation of house wrap, we can proceed with installing starter strips. This step sets everything in place for the siding panels propped up against the house surface. It also works as the frame for every layer of siding material.
4. Siding Panels Installation:
Siding can be cut into different sizes and shapes for specific design aesthetic purposes and home measurements. We measure carefully and accurately to avoid misalignments between side panel pieces or errors due to improper cuts on siding panels.
Essential tools:
1. J-Channel Tool: For making corners smooth and neat using a channel that provides extra protection from moisture.
2. Circular Saw: For cutting thick material like wood, door sections, and high-density fiberboards used in sturdy foundations for your siding installation project.
3. Utility Knife: An essential tool applicable for several uses during our siding installation projects, including trimming, slicing insulation coverings, and cutting around edges.
4. Hammer & Nails/Screws: Used together or separately depending on what type of wall structure is being installed or replaced.
JP Exteriors maintains a steady line of communication between our technical team manager and customers at every stage of the siding installation process to ensure that there are no surprises along the way.
As one satisfied customer said, "I'm so thrilled I decided to work with JP Exteriors for my house's new siding - their expert team was efficient and skilled in completing what I thought would be a daunting project."
The tools and steps we detail above underscore the importance of having an experienced professional handle your home's exterior remodeling needs. Not having the right tools, at best, means you'll have patchy, sloppy installations. At worst? Doing it wrong might harm your home's foundation and increase the cost of repairing it.
Whether to install siding yourself (DIY) or contract a professional team like JP Exteriors is another topic open for debate. Some homeowners believe they can do it themselves to save money; still, this exposes your home to potential risks since you could make installation mistakes that cause water damage or mold.
JP Exteriors professionals follow industry standards when installing siding panels using specialized tools, equipment, and materials to deliver exceptional results. DIYers without adequate knowledge are likely to miss essential steps or waste resources trying to figure out what went wrong.
To prevent electrical failure, we engage certified electricians instead of the Do-It-Yourself approach. The same way, for your siding installation project, it’s best to let professionals like JP Exteriors handle everything, saving you time, money, and peace of mind with our expertise.
Trust JP Exteriors as your local Austin Texas Partner for Your Siding Installation needs!
Contact us today
Subscribe to JP Exteriors's Blog


Comments